Getting Started - Tilt Hydrometer
Step 1. Create a Tilt in the app
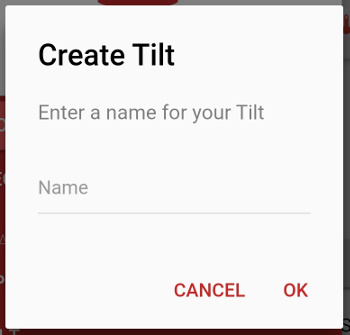
Click on Add a Tilt Hydrometer from the Home screen or + Titlt from the side menu and give your Tilt a name.
Step 2. Configure your Tilt Hydrometer
You now need to configure your Tilt Hydrometer to send its data to the BrewSpy server
To do so, enter the Cloud Url as shown in the app either in the Tilt app or Tilt Pi, depending on what you are using
If you have mulitple Tilts of different colors, you can reuse the same URL for all your Tilts and they will be automatically discovered by BrewSpy
Step 3. Receive Tilt data in BrewSpy
The Tilt Hydrometer should now start sending data to the BrewSpy server
Launch the app and see if you've received any data. Swipe down to refresh the screen.
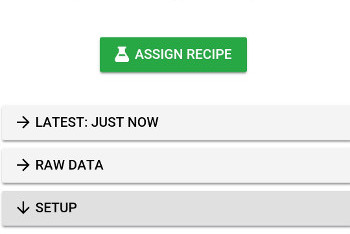
If the Tilt Hydrometer has successfully sent data to the server you should see a Latest Data and Raw Data tab.
If you do not see any changes in Brewspy after some time - swipe down to refresh the data. If still no data, check that the Cloud Url was saved correctly on the recipient device and that it has access to the internet.
Step 4. Brew a beer
Brew a batch as you would normally would
Step 5. Start tracking fermentation progress in BrewSpy
Once you've pitched in the yeast and your Tilt Hydrometer in your freshly brewed beer, you can start tracking the fermentation progress of your batch in BrewSpy
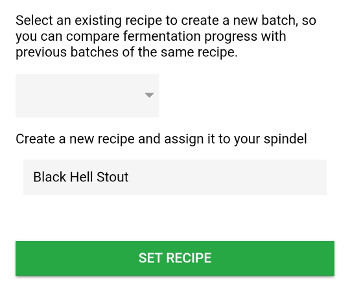
Simply tap on the big green Assign Recipe button and give your beer a name - or you can select a previously entered beer from the drop down list
BrewSpy will then start showing you a nice little graph, showing the fermentation progress, as well as some statistics regarding your latest brew
Once fermentation stops, tap on the big red Stop button to stop logging the Tilt Hydrometer data on that recipe